How to Grow Potatoes: Complete Guide from Planting to Harvest
We earn commission from qualifying Amazon purchases. It costs you nothing and does not affect what we recommend.
Discover the complete guide to growing potatoes successfully. Learn about varieties, planting techniques, care tips, and harvesting methods for bumper crops of delicious homegrown potatoes.
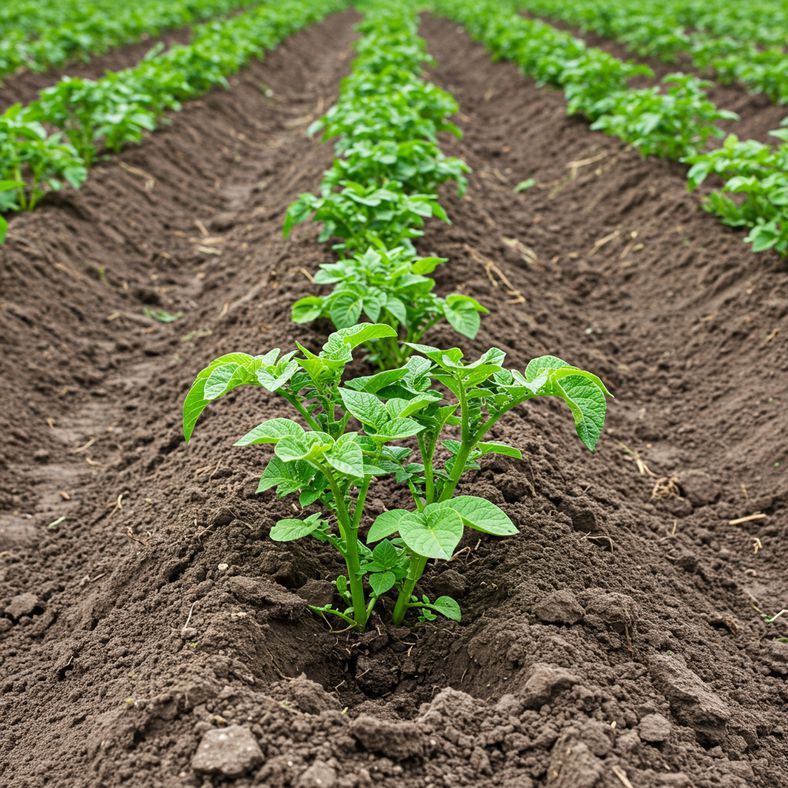
Potatoes are one of the most rewarding vegetables to grow in your garden, offering incredible variety and abundant harvests. Whether you're a beginner gardener or experienced grower, cultivating your own potatoes provides access to unique varieties and flavors not found in supermarkets.
From early new potatoes ready in summer to maincrop varieties for winter storage, growing potatoes is surprisingly straightforward. This comprehensive guide covers everything you need to know about successfully growing potatoes, from selecting varieties to harvesting your crop.
Getting Started
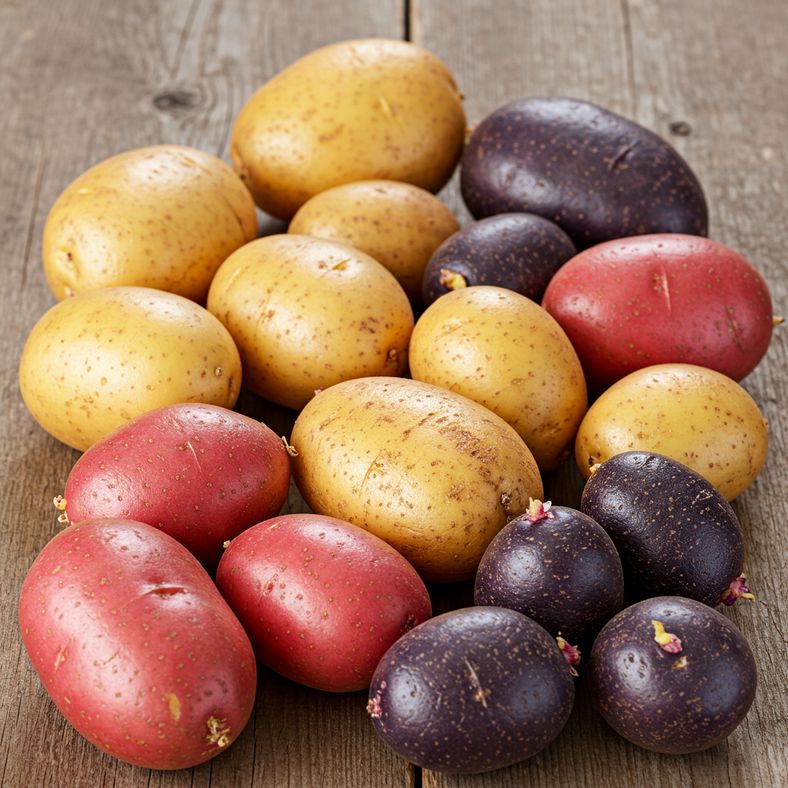
Potatoes (Solanum tuberosum) are versatile vegetables that come in an amazing array of varieties, offering gardeners flavors and textures far beyond what's available in stores. The key to success lies in understanding the different types and choosing the right varieties for your needs.
Understanding Potato Types
- First Early Varieties: Ready to harvest in just 12 weeks, these produce small, delicious new potatoes perfect for smaller gardens
- Second Early Varieties: Mature slightly later but still provide early summer crops
- Maincrop Varieties: Take longer to mature but produce larger yields and bigger potatoes ideal for roasting, baking, and winter storage
Potatoes are grown from specially prepared 'seed potatoes' - small tubers that are certified virus-free. Look for varieties with the RHS Award of Garden Merit (AGM) for reliable performance in your garden.
Choosing

Selecting the right potato varieties is crucial for a successful harvest. With hundreds of varieties available, focus on those suited to your growing conditions and culinary preferences.
Recommended Varieties
- 'Maris Bard' (First Early): Very early crop with excellent flavor, drought-resistant and perfect for containers
- 'Jazzy' (Second Early): Produces numerous small oval tubers with cream skin and pale yellow flesh
- 'Maris Piper' (Maincrop): Popular variety producing reliable, large crops of well-flavored tubers
Where to Buy Seed Potatoes
Purchase certified virus-free seed potatoes from reputable suppliers in late winter and spring. Mail-order suppliers offer the widest selection, and many allow advance ordering as popular varieties sell out quickly. For Christmas crops in greenhouses, buy cold-stored tubers in summer.
Preparing the Ground

Proper soil preparation is essential for healthy potato growth and maximum yields. Potatoes thrive in rich, fertile soil with good drainage.
Site Requirements
- Choose an open, sunny location protected from late frosts
- Ensure good drainage to prevent waterlogging
- Avoid areas prone to frost pockets in spring
Soil Preparation
Dig in plenty of organic matter such as well-rotted garden compost or manure before planting, ideally the previous autumn or winter. If following no-dig principles, apply a 10cm layer of compost after planting. On poorer soils, consider adding an organic general-purpose fertilizer to boost yields.
Remember to practice crop rotation by growing potatoes in a different area each year to prevent disease build-up in the soil.
Planting
Timing and technique are crucial for successful potato planting. The process begins with optional chitting to give early varieties a head start.
Chitting Potatoes
Chitting involves encouraging seed potatoes to sprout before planting. While not essential, it's beneficial for early varieties:
- Start chitting in late January (mild areas) to early March (colder regions)
- Place seed potatoes in egg boxes with buds facing upward
- Keep in a bright, frost-free location for 4-6 weeks
- Plant when sprouts reach about 5cm long
Planting Schedule
- First Earlies: Late March
- Second Earlies: Early to mid-April
- Maincrops: Mid-April to early May
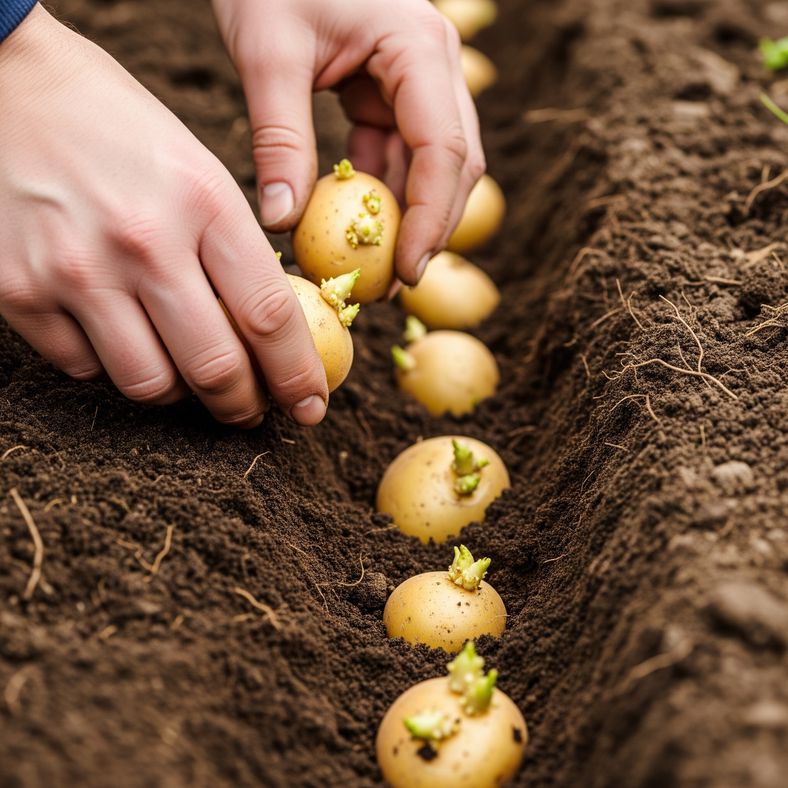
Planting Method
Dig trenches 15cm deep and place seed potatoes with sprouts facing upward. Cover with at least 2.5cm of soil, being careful not to damage sprouts. Space plants appropriately:
- Earlies: 30cm apart in rows 60cm apart
- Maincrops: 37cm apart in rows 75cm apart
Plant Care
Proper care throughout the growing season ensures healthy plants and maximum yields. Key care activities include earthing up, watering, and protection from frost.
Earthing Up
This traditional technique involves mounding soil around growing stems:
- Begin when shoots reach 23cm tall
- Draw soil up around stems, leaving top 10cm visible
- Repeat every few weeks as plants grow
- Final ridge height should be 20-30cm
- Protects from frost and prevents green potatoes
Watering
Consistent moisture is crucial, especially during dry spells. Container-grown potatoes need regular watering throughout the season, even during wet weather as leaves can act like umbrellas.
Feeding
Ground-grown potatoes rarely need additional feeding if soil was well-prepared. Container plants benefit from organic fertilizer mixed into compost or liquid feed after 6 weeks.
Frost Protection
Protect young shoots from late frosts using cloches, hessian, straw, or by covering with soil. Move container plants to frost-free locations when freezing temperatures are forecast.
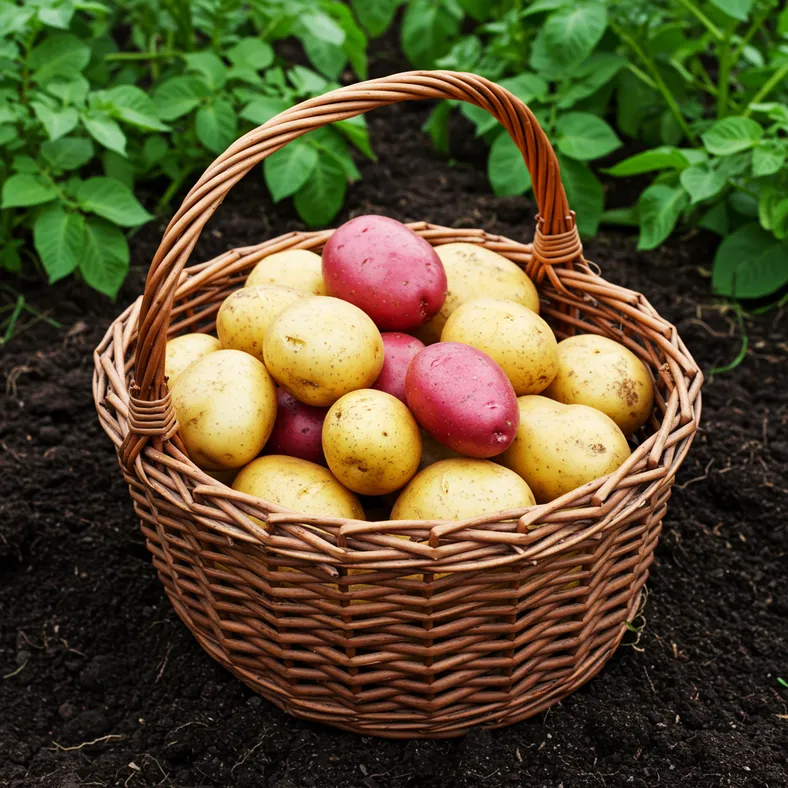
Harvesting

Harvesting potatoes is one of gardening's great pleasures - discovering your underground treasure never loses its excitement. Timing varies by variety and weather conditions.
Harvest Timing
- First Earlies: June to July when flowers open or buds drop, tubers should be hen's egg size
- Second Earlies: July to August
- Maincrops: Late August through October
Harvesting Technique
Use a fork inserted at least 30cm from the plant base to avoid spearing tubers. Before harvesting, gently check tuber size by scraping away soil. For continuous harvest, carefully dig individual potatoes with a trowel while leaving the plant to continue growing.
Container-grown potatoes are easy to harvest - simply tip out contents and pick potatoes by hand. Discard any green potatoes as they can be poisonous.
Post-Harvest Handling
Use early potatoes immediately for best flavor. For storage potatoes, wait until leaves yellow, cut off top growth, wait 10 days, then harvest and dry in sun for a few hours before brushing off soil.
Storing

Proper storage extends your potato harvest through winter, providing homegrown vegetables for months after harvest.
Storage Requirements
Only store healthy, undamaged maincrop potatoes. Early varieties are best used fresh and don't store well.
Storage Method
- Ensure potatoes are completely dry before storing
- Brush off all soil but don't wash
- Store in paper or hessian sacks, or on slatted trays
- Keep in cool, dry, frost-free location (garage ideal)
- Maintain complete darkness to prevent sprouting
- Check every few weeks for signs of rot
Properly stored potatoes should last several months, but aim to use them before early spring when they naturally begin to sprout and shrivel.
Problems

While potatoes are generally reliable croppers, being aware of potential problems helps ensure successful harvests.
Common Issues
- Potato Blight: Weather-dependent fungal disease affecting leaves and tubers, less common in dry summers and with early varieties
- Slugs: Particularly problematic for maincrop tubers during damp autumn weather
- Green Potatoes: Caused by light exposure, prevented by proper earthing up
- Scab: Cosmetic issue causing rough skin, more common in alkaline soils
Prevention Strategies
Practice crop rotation by growing potatoes in different locations each year to prevent soil-borne disease build-up. Choose disease-resistant varieties where available, and maintain good garden hygiene by removing plant debris.
Early harvesting can often salvage crops affected by blight, though affected potatoes won't store well.