
How to Harvest and Cure Onions UK: Step-by-Step Guide
We earn commission from qualifying Amazon purchases. It costs you nothing and does not affect what we recommend.
Discover the complete guide to harvesting and curing onions in the UK. From identifying the perfect harvest time to proper drying and storage techniques, ensure your onion crop stays fresh for months.

Successfully harvesting and curing your onions marks the culmination of months of careful growing, transforming your garden-fresh bulbs into a valuable winter food store. Proper timing and technique during harvest and curing are crucial for maximizing both flavour and storage life, potentially keeping your homegrown onions fresh until the following spring.
Whether you've grown onions from sets or seeds, understanding when and how to harvest, followed by the essential curing process, will ensure you get the most from your crop. This comprehensive guide covers everything UK gardeners need to know about harvesting and curing onions for optimal results.
When to Harvest Onions in the UK
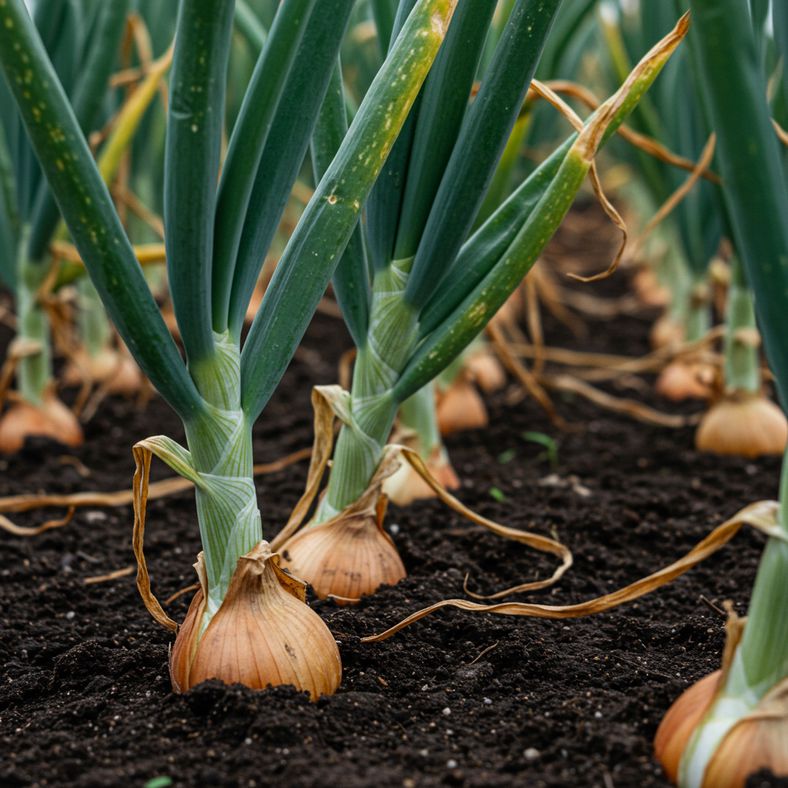
Timing your onion harvest correctly is crucial for both immediate quality and long-term storage success. The key indicator is the natural yellowing and toppling of the foliage, which signals that the bulbs have reached maturity and energy transfer from leaves to bulb has ceased.
Harvest timing by planting method:
- Autumn-planted (Japanese) onions: Ready for harvest in June and July
- Spring-planted sets: Harvest from July through October
- Seed-raised onions: Generally ready from July to October
Don't wait for the foliage to die back completely – harvest when leaves are approximately 50-75% yellowed and beginning to fall over naturally. The neck of the onion should feel firm and the outer skin should be developing its characteristic papery texture.
Weather considerations: Plan your harvest for a dry period if possible, as wet conditions can introduce fungal problems and complicate the curing process. If rain threatens, harvest anyway and move immediately to covered drying areas.
Gently test bulb size by carefully brushing away soil from around a few onions. If they've reached a satisfactory size and show the maturity signs mentioned above, it's time to harvest the entire crop.
Pre-Harvest Preparation
Proper preparation before harvest day ensures the best possible outcome for your onion crop. Several steps taken in advance will significantly improve your storage success.
Stop watering: Cease all watering once bulbs have begun swelling in mid-summer. Continued watering after this point can actually reduce storage quality and increase the risk of rotting. Allow the soil to dry naturally in the weeks leading up to harvest.
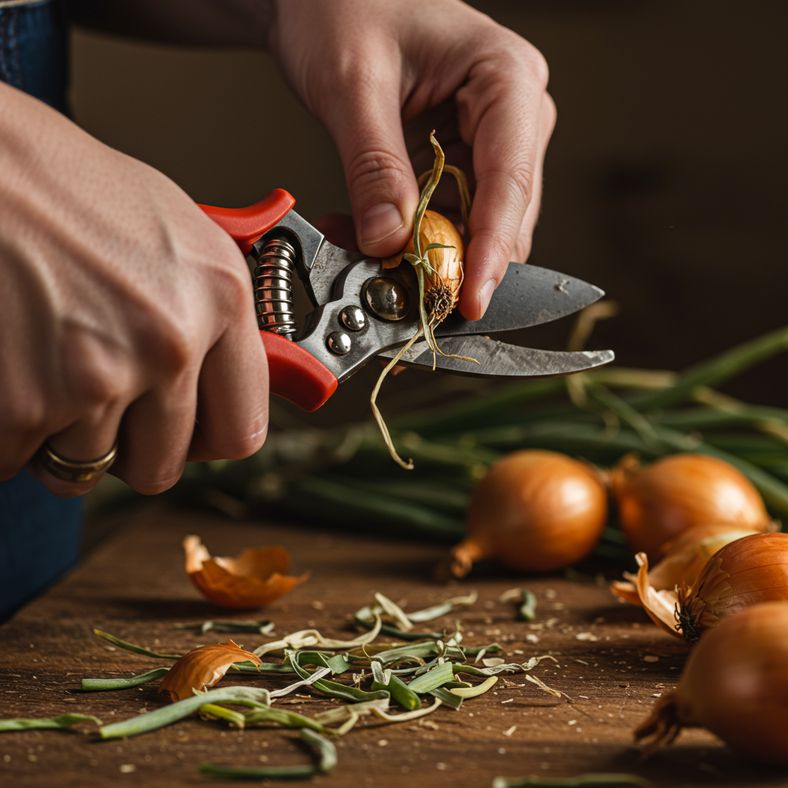
Remove flower stems immediately: If any onions produce flower stems (bolting), remove these as soon as they appear. Flowering diverts energy away from bulb development and significantly reduces storage life. Cut the flower stem at its base using clean garden secateurs to prevent disease transmission.
Avoid artificial foliage bending: Contrary to old gardening advice, don't bend over or break the foliage artificially. This outdated practice can actually introduce pathogens and doesn't improve bulb development.
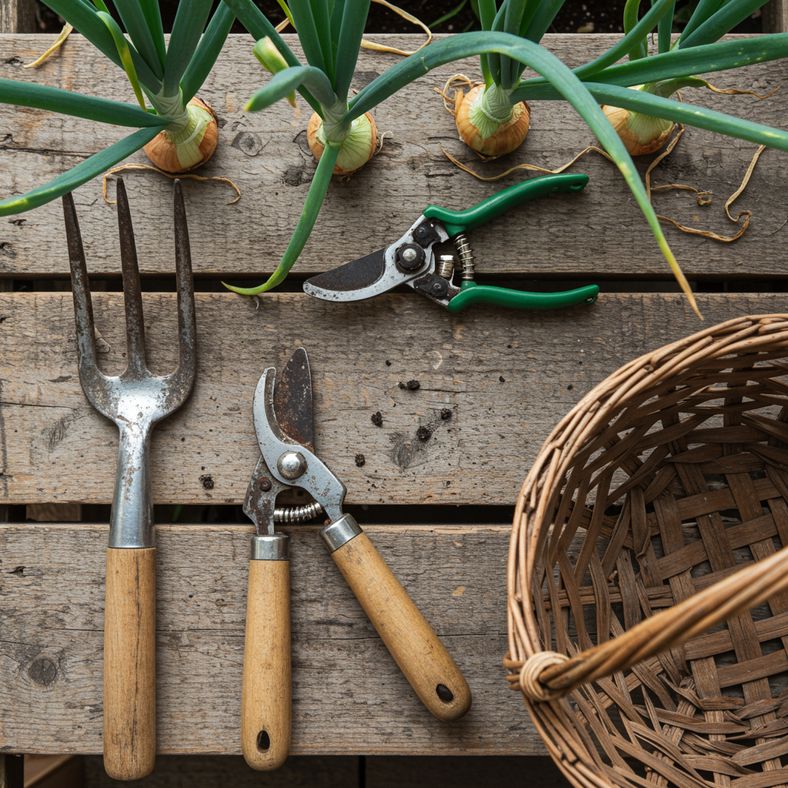
Prepare harvesting tools: Gather clean tools including a garden fork (preferred over spades to minimize damage), clean secateurs for trimming, and containers or trays for collecting the harvest.
Check weather forecast: Ideally, plan your harvest for the start of a dry period to facilitate outdoor curing. However, don't delay harvest significantly if onions are ready but weather is unsettled.
Harvesting Technique
Careful harvesting technique prevents damage that could lead to storage problems. Handle onions gently throughout the process to maintain their integrity.
Choose the right conditions: Harvest on a dry day when soil isn't waterlogged. Wet, muddy conditions make harvesting more difficult and can introduce excess moisture that complicates curing.
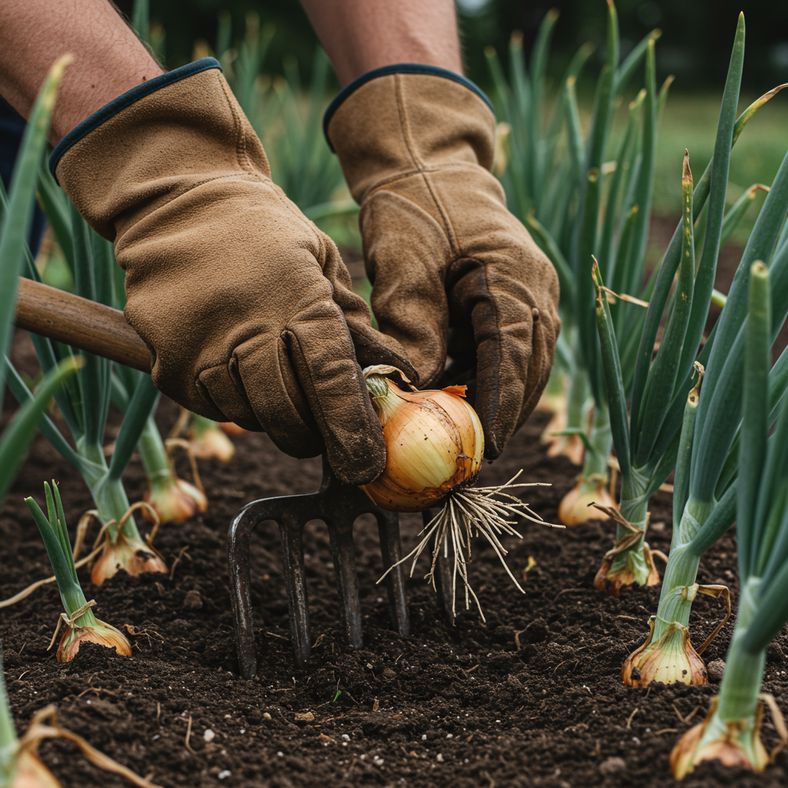
Lifting method: Use a garden fork rather than a spade, inserting it well away from the bulbs to avoid accidental damage. Gently lift each bulb with its complete root system and foliage intact. Work systematically down each row.
Handle with care: Avoid dropping, throwing, or roughly handling the bulbs. Even minor bruising can create entry points for rot-causing organisms during storage.
Initial cleaning: Gently brush away loose soil using your hands or a soft brush, but leave the outer papery skins intact. Don't wash the onions with water at this stage.
Sort as you go: Separate any damaged, soft, or diseased bulbs for immediate use. Only perfect, firm onions should go forward to the curing process.
Keep foliage attached: Leave all foliage and roots attached during harvest. These will be trimmed later, after curing is complete. The foliage helps draw remaining moisture from the bulb during the drying process.
If you notice any onions showing signs of pest damage or disease, isolate these immediately to prevent spread to healthy bulbs.
The Curing Process
Curing is the critical process that transforms freshly harvested onions into long-lasting storage crops. This two-week drying period removes excess moisture and allows the outer skins to become papery and protective.
Outdoor curing (preferred method): In ideal weather conditions, place onions on wire racks, wooden slats, or similar raised surfaces that allow air circulation underneath. Direct sunlight helps the curing process, but ensure onions don't get rained on.
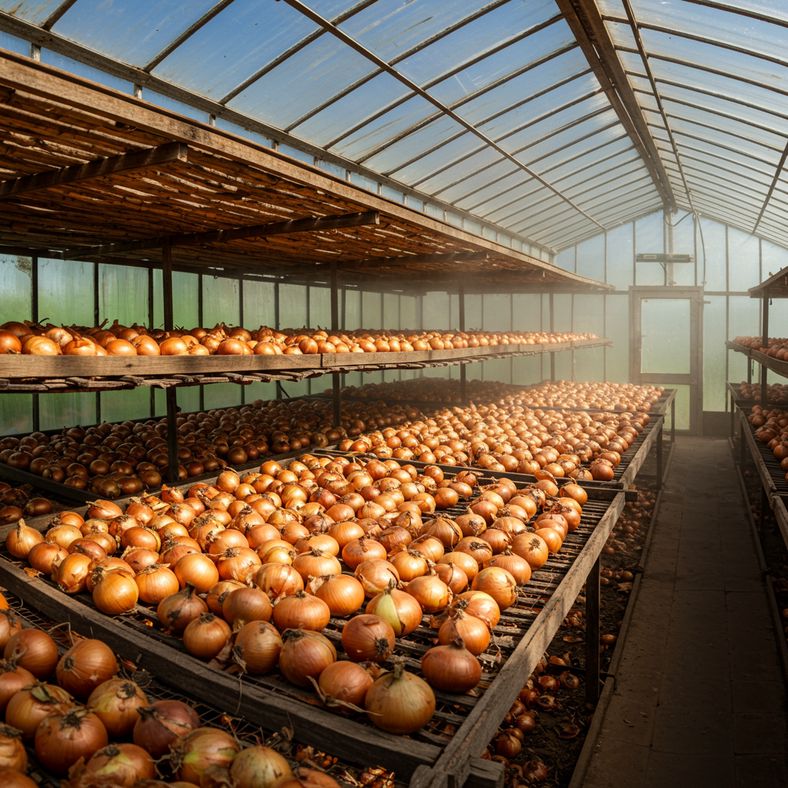
Indoor curing alternatives: If weather is damp or unsettled, cure onions in a well-ventilated greenhouse, polytunnel, or garden shed. Ensure good air circulation and avoid enclosed spaces where humidity can build up.
Proper spacing: Arrange onions so they don't touch each other, allowing air to circulate freely around each bulb. Single layers work best – avoid stacking uncured onions.
Turn regularly: Turn onions every few days to ensure even drying on all sides. This prevents moisture pockets and ensures uniform curing.
Monitor progress: After two weeks, properly cured onions should have papery, dry outer skins and neck areas that feel firm and dry. The foliage should be completely withered and crispy.
Weather protection: If rain threatens during outdoor curing, quickly move onions under cover. Wet conditions during curing can encourage rot and negate weeks of careful growing.
Disclaimer: This article contains Amazon affiliate links. We may earn a small commission from qualifying purchases at no additional cost to you.
Post-Curing Preparation
Once curing is complete, proper preparation for storage ensures maximum keeping quality throughout the winter months.
Trimming technique: Using clean, sharp secateurs, trim the dried foliage to about 2.5cm (1 inch) above the bulb. Cut the roots close to the base, leaving just enough to maintain bulb integrity.
Final inspection: Examine each onion carefully, discarding any that show signs of soft spots, disease, or damage. Even minor imperfections can spread during storage.
Skin assessment: Properly cured onions should have tight, papery outer skins with no areas of softness or moisture. The neck should be completely dry and firm.
Size sorting: Sort onions by size, as larger bulbs often store longer than smaller ones. This makes rotation easier during storage.
Variety separation: Different varieties have varying storage characteristics. Keep varieties separate and label clearly, using varieties bred for storage first.
Final quality check: Give each onion a gentle squeeze. Any that yield to pressure should be used immediately rather than stored.
Take time during this process to note which varieties performed best in your garden conditions, as this information will help with future growing decisions.
Storage Methods and Conditions
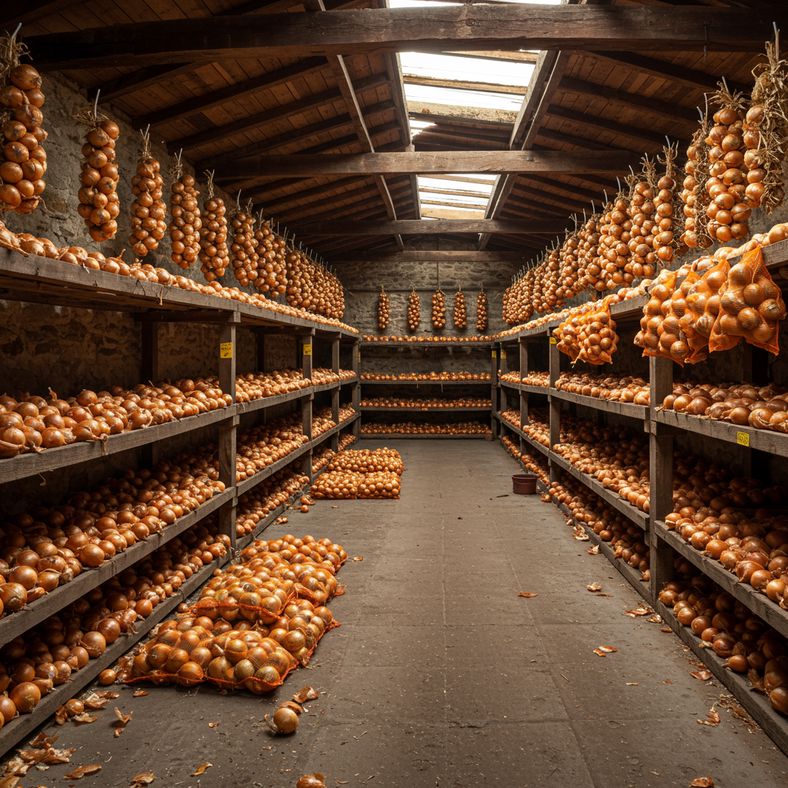
Proper storage conditions are essential for maintaining onion quality throughout the winter. The right environment can keep well-cured onions fresh for 6-8 months or longer.
Ideal storage conditions:
- Temperature: Cool but frost-free, ideally 0-5°C
- Humidity: Low humidity to prevent sprouting and rot
- Light: Store in light, not darkness (darkness encourages sprouting)
- Ventilation: Good air circulation to prevent moisture buildup
Storage container options:
- Net bags: Excellent ventilation, easy to inspect contents
- Slatted wooden crates: Good airflow, stackable for larger harvests
- Wire baskets: Maximum ventilation, suitable for smaller quantities
- Paper bags: Only for short-term storage (2-3 months)
Traditional plaiting: Onions with longer, pliable stems can be plaited together and hung in storage areas. This traditional method looks attractive and provides excellent ventilation.
Single layer principle: Regardless of container choice, store onions in single layers where possible to allow air circulation and easy inspection.
Location selection: Suitable storage locations include unheated garages, garden sheds, spare bedrooms, or dedicated root cellars. Avoid heated indoor areas, damp basements, or areas prone to temperature fluctuations.
Monitoring and Maintenance During Storage
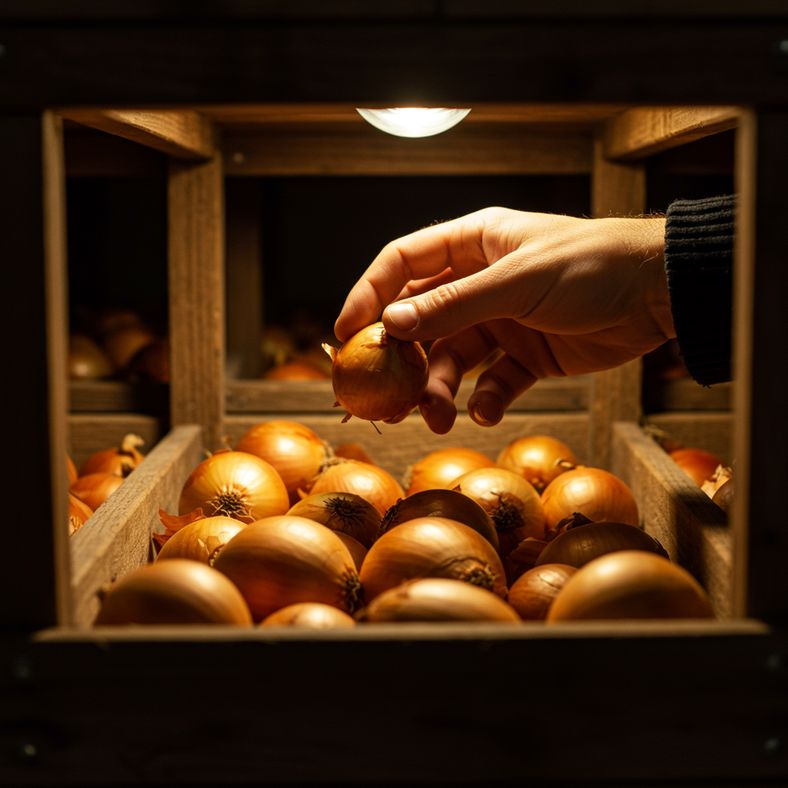
Regular monitoring during storage helps identify problems early and maximizes your stored onion harvest's lifespan.
Regular inspection schedule: Check stored onions every 2-3 weeks, looking for signs of sprouting, softening, or rot. Early detection allows you to remove problem onions before they affect others.
Signs to watch for:
- Soft spots: Usually indicate rot beginning – use immediately or discard
- Green sprouting: Indicates storage conditions are too warm or humid
- Moisture on storage containers: Suggests inadequate ventilation
- Strong odors: Often the first sign of hidden rot
Rotation system: Use a 'first in, first out' approach, and prioritize any onions showing early signs of deterioration. Smaller onions typically need using before larger ones.
Environmental adjustments: If sprouting occurs, check storage area temperature and lighting. Increase ventilation if you notice moisture buildup on storage containers.
Usage prioritization: Use any onions that were slightly damaged during harvest first, followed by smaller bulbs, then varieties known for shorter storage life.
Record keeping: Note which varieties store best in your conditions, helping inform future growing and storage decisions.
Remember that even with perfect storage conditions, onions will gradually lose moisture and firmness over time. Plan your usage accordingly and consider preservation methods like dehydrating or freezing for onions approaching the end of their storage life.
Troubleshooting Common Storage Problems
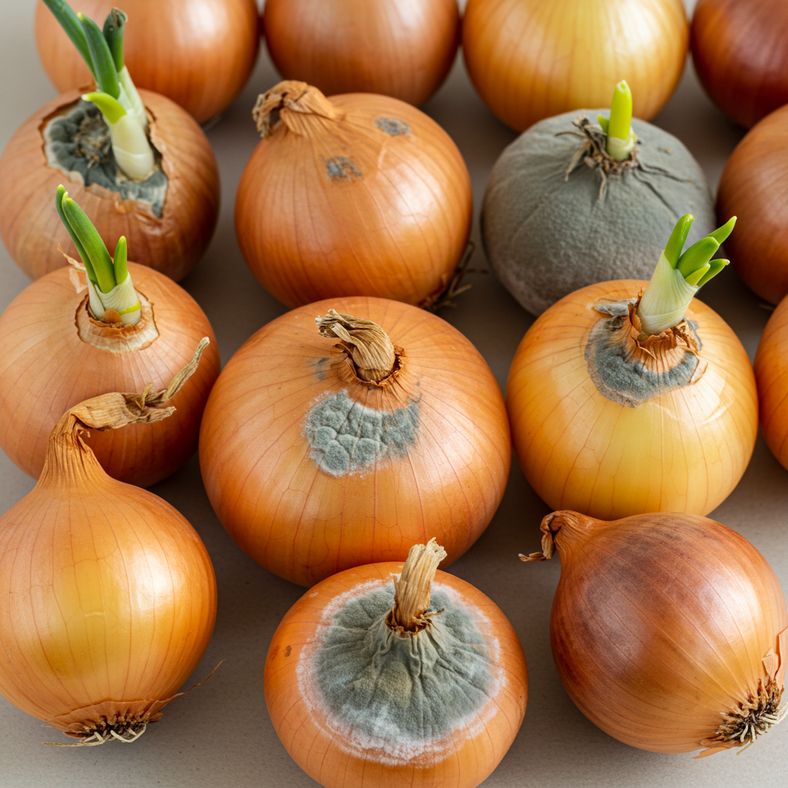
Understanding and addressing common storage problems quickly can save significant portions of your onion harvest.
Premature sprouting: Usually caused by storage temperatures that are too warm or exposure to darkness. Move onions to a cooler, lighter location and use sprouted onions quickly as they won't store much longer.
Soft rot development: Often results from inadequate curing, damage during harvest, or poor storage ventilation. Remove affected onions immediately and check surrounding bulbs carefully. Improve air circulation if this is a recurring problem.
Neck rot (Botrytis): Appears as a grey, fuzzy mold around the neck area. This fungal problem often stems from harvesting too early or inadequate curing. Affected onions should be discarded entirely.
Black mold on outer skins: Usually superficial and can be cleaned off, but monitor carefully for progression. Often indicates storage area humidity is too high.
Excessive moisture in storage containers: Suggests either inadequately cured onions or poor storage ventilation. Remove onions to complete drying if necessary and improve air circulation.
Pest problems: Mice occasionally damage stored onions. Store in secure containers and check for signs of rodent activity. Small holes in storage bags can indicate insect pests.
Prevention strategies: Most storage problems stem from inadequate curing, poor storage conditions, or including damaged bulbs in storage. Maintaining strict quality standards during selection and ensuring proper curing prevents most issues.
If problems persist across multiple storage seasons, consider adjusting your growing varieties, harvest timing, or storage location. Some onion varieties are simply better suited to long-term storage than others.