
How to Store a Garden Hose Over Winter in the UK
Published 19 August 2026
A step-by-step UK guide to winter hose storage: draining and coiling, spray guns and connectors, the expandable hose routine, the outside tap debate settled, and where to keep everything until spring.
We earn commission from qualifying Amazon purchases. It costs you nothing and does not affect what we recommend.
Quick Answer
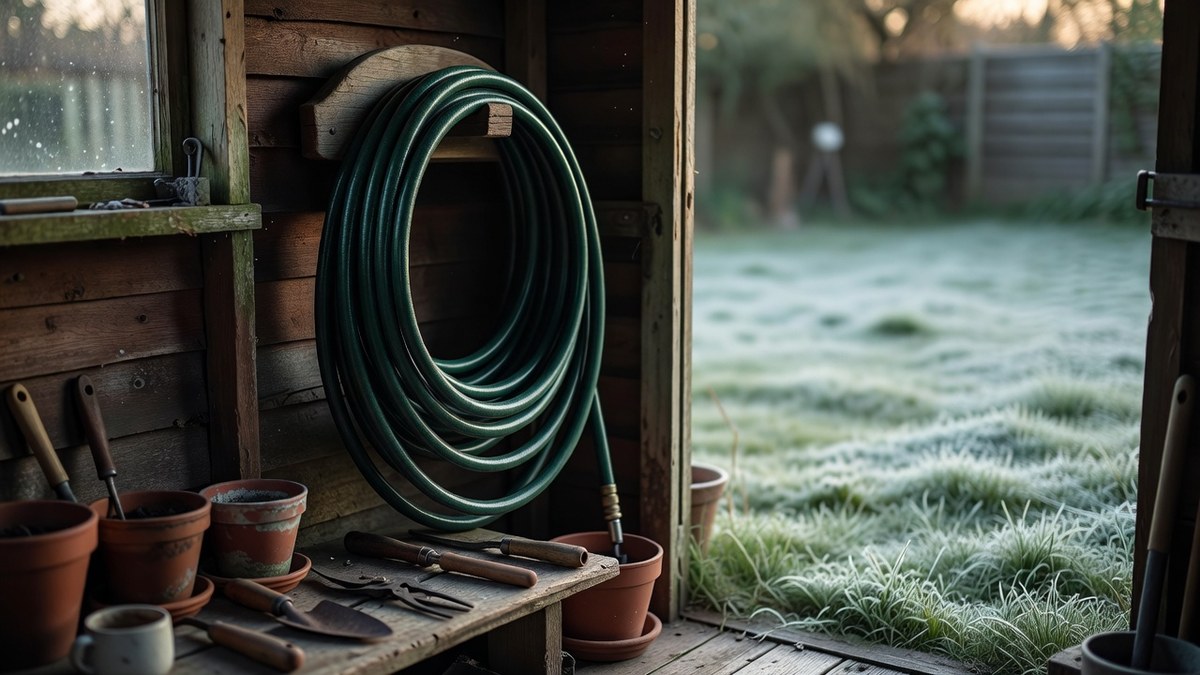
Unscrew the hose from the tap before the first frosts, strip off the spray gun and connectors, drain everything and coil the hose in wide loops on a rounded hanger or reel. Store it dry and out of the sun, ideally in an unheated shed or garage, and isolate and drain the outside tap - or at the very least fit an insulated cover. Expandable hoses are the exception: drain them, let the fabric dry and keep them frost-free indoors.
Putting the garden hose away feels premature in late summer and suddenly urgent in November. First frosts arrive from late October across most of England, and earlier in Scotland and upland areas, so the window for doing this job calmly - while the hose is warm, flexible and easy to coil - is the next few weeks. Almost all winter hose damage is self-inflicted: water left sitting in the tube, the spray gun, the connectors or the tap freezes, expands and splits whatever is holding it.
This guide covers the whole job in order: disconnecting at the right time, draining the fittings most guides forget, coiling without wrecking the hose, the separate routine an expandable hose needs, the outside tap question UK forums genuinely argue about, and where to store everything until spring. Where one of the products we have reviewed genuinely helps, we point to it; nothing here needs special tools.
Disconnect the Hose Before the First Frosts
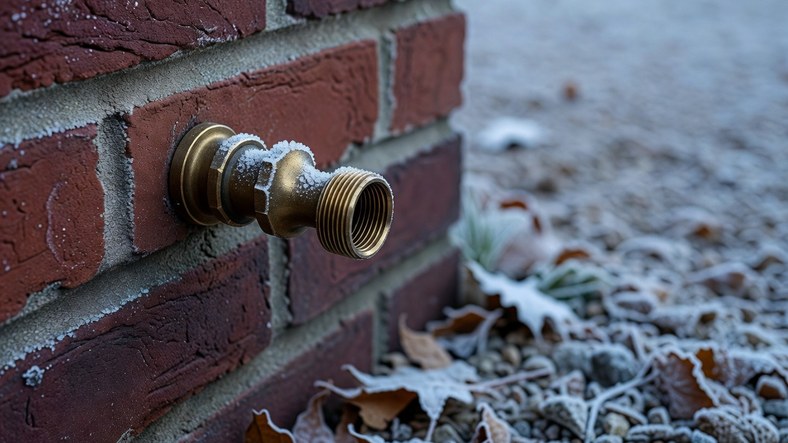
The single most damaging thing you can do to a hose, a spray gun or the tap itself is to leave everything connected through the first cold snap. A connected hose traps water in the tap body and in the pipe behind the wall, and when that water freezes it expands with enough force to split brass, copper and plastic alike. One r/AskUK regular who admits to forgetting most years reports that the spray attachment left on the hose splits about half the time. Set against a burst pipe inside a kitchen wall, a few minutes of unscrewing is the cheapest insurance in gardening.
Timing matters more than most guides let on. First frosts land in late October to November across most of England, and earlier in Scotland and upland areas, so from late summer you are working to a deadline measured in weeks. There is also a practical reason not to leave it late: hose tubing is at its most flexible in warm weather, which makes draining and coiling far easier now than on a raw November morning. Doing the job in September costs nothing, because reconnecting for a dry spell is the work of a moment.
The first step is short:
- Turn the outside tap off fully.
- Unscrew the hose from the tap completely, connector and all - do not leave anything clicked onto the tap thread.
- If you have a frost-proof outside tap, disconnecting matters even more: that design can only drain its exposed spout when nothing is screwed onto it (more on taps in step five).
- Pull the hose out across the lawn ready for draining rather than dragging it over gravel or a sharp patio edge, which scuffs the outer wall.
Strip Off the Fittings and Drain the Rest of Your Watering Kit
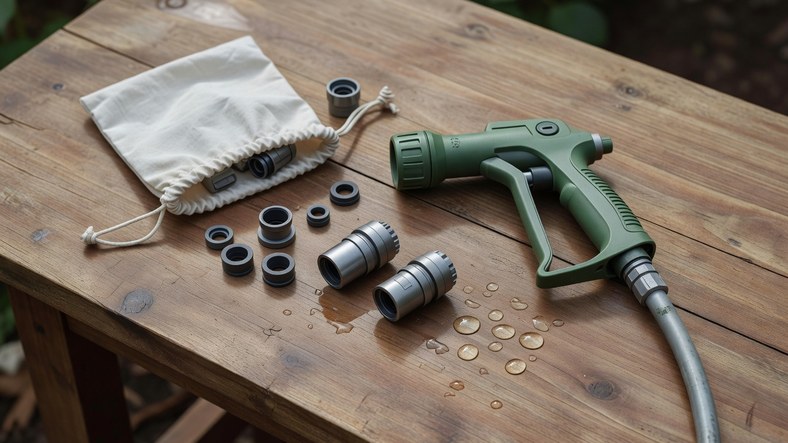
Before the hose itself gets any attention, strip off everything attached to it. Spray guns, nozzles, connectors, splitters and timers all hold hidden pockets of water, and because their internals are smaller and more intricate than the hose bore, they are usually the first casualties of a freeze.
- Spray guns and nozzles. Unclick the gun, point it downwards and squeeze the trigger until nothing more comes out - water sits inside the handle and the trigger valve where you cannot see it. On a multi-pattern head like the Hozelock Multi-Jet Spray Gun, work through the jet settings while you squeeze so every channel empties, then store the gun indoors rather than in the shed.
- Hose end connectors. Take the connectors off both ends of the hose, shake them dry and check the rubber seal inside each one. Water trapped in the connector body freezes readily, and a distorted seal is why so many setups spit water sideways at first use in spring. Fittings like the Hozelock Soft Touch Hose End Connector unscrew by hand in seconds, so there is no excuse to leave them on.
- Water timers and splitters. Take any timer off the tap, remove its batteries and bring it inside; rubber seals dry out and crack in a cold shed, and a leaking battery finishes the job. Brass splitters cope with cold better but still want a shake out.
- Sprinklers. A sprinkler left out quietly holds water in its body and jets all winter. Disconnect it, tip it upside down until it stops dripping and shelve it under cover - a rotating model like the Ram 360 Garden Sprinkler has moving parts you do not want locked up by ice or grit.
- Pressure sprayers. Empty the tank, spray until the lance runs dry, then store the sprayer unpressurised somewhere frost-free. Leftover liquid plus ice is a fast way to ruin pump seals.
While everything is in your hands, check the flat washers and O-rings. A flattened, brittle washer is the usual cause of the first leak of spring, and swapping it now is trivial. Bag all the small parts together - washers, connectors, nozzle, timer - and keep the bag in a drawer near the internal isolation valve, so next season starts with everything in one place instead of a hunt through the shed.
Drain and Coil the Hose
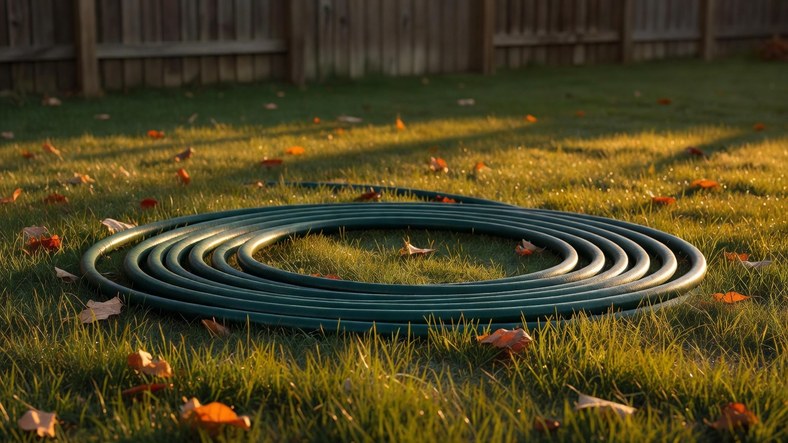
With both ends bare, get the water out. A hose stored wet goes into winter with a freeze risk and a mould problem built in, and the draining method could not be simpler.
- Lift one end of the hose to shoulder height and walk the full length, keeping the section in your hands raised so the water runs downhill ahead of you and out of the far end.
- If the run has dips and low spots, drape sections over a fence or railing as you go and let gravity finish the job.
- At the far end, hold the opening up until the dribble stops, then give the last stretch a firm shake.
Now coil it on the ground, not in the air:
- Lay the hose flat and loop it clockwise, giving it a slight twist in your hand as each loop lands so it settles flat rather than fighting you.
- Keep the loops wide - roughly 60 to 90cm across. Tight loops and figure-of-eight wraps build permanent stress points into the tube, especially near the fittings.
- Screw a hose cap onto each open end if you have them. Insects crawl into open hose ends over winter and burrow into the lining, and the damage they do surfaces as mystery leaks in spring.
- Pick a mild day for the coiling. Warm tubing lies flat where you put it; cold tubing has memory and springs back.
And one habit to break for good: hanging the coil on a nail or a slim hook. The whole weight of the hose presses onto one narrow point, the tube flattens there, and by spring it carries a permanent crease that kinks every time you water. Whatever supports the hose needs a wide, rounded surface - a proper wall hanger, a hose reel, or simply a loose coil laid flat on a shelf. If you use a reel, wind the hose on only once it is drained and dry, and let the reel take the weight of the coil rather than leaving it hanging by its fittings.
Give an Expandable Hose Different Treatment
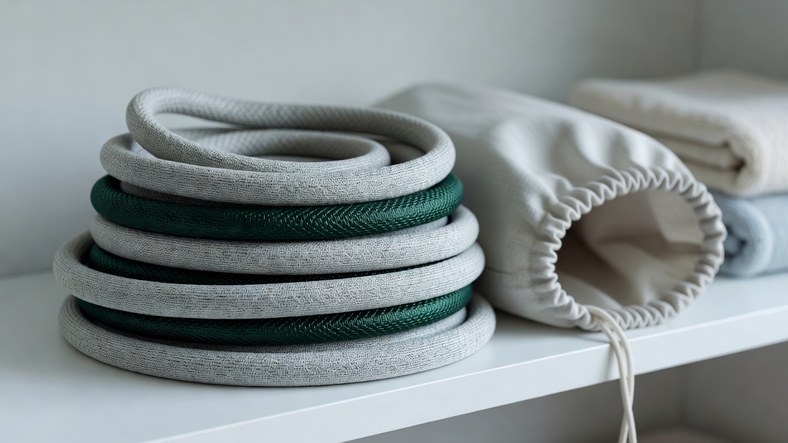
Expandable hoses are built differently and need storing differently, and this is the point where generic hose advice quietly ruins them. Inside the woven fabric jacket sits a stretchy inner tube that lengthens under water pressure and pulls back to its resting size when the pressure drops. Treat one like a conventional hose and you undo the very thing you bought it for.
Two rules before anything else:
- Never wind an expandable hose onto a reel and never wrap it tightly around a holder or hook. Held stretched for months, the inner tube stays stretched, and the hose loses the contraction that makes it compact.
- Never pack it away damp or full. Moisture trapped between the inner tube and the fabric jacket is how mould and mildew take hold, and any water left in a frozen inner tube will split it.
The put-away routine takes a few minutes. Turn the tap off and hold the spray gun or end valve open so the hose depressurises and contracts back to its resting length by itself - let it, rather than forcing it. Disconnect it from the tap, open both ends and let the remaining water run out, then leave the hose somewhere airy until the fabric is dry to the touch all along its length. Once dry, gather it into a loose coil.
Storage is where expandables earn their keep: they shrink small enough for a drawstring bag, a lidded box or a shelf. The HOMOZE Expandable Hose we have reviewed contracts down compactly enough to live in a utility cupboard, which is exactly where an expandable hose should spend the winter. Expandable hose storage guidance is explicit about not storing them anywhere they may freeze, so treat an unheated shed as a compromise and bring it into the house instead.
Sort Out the Outside Tap
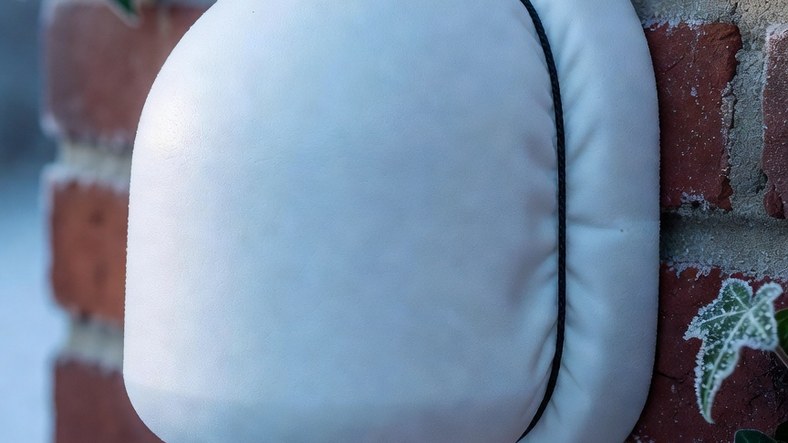
Ask three corners of the UK internet whether to isolate and drain an outside tap and you get three confident, contradictory answers. On r/AskUK, some homeowners have never isolated a tap in decades and never had a burst, while others on the same thread have lost taps, outdoor showers and spray guns to hard frosts. On the Screwfix forum, the plumbers debate whether a drained tap should then be left open or shut. All of these people are describing real experience; the difference between them is the kit on the wall and how exposed it is. So here is what the kit actually does.
- The internal isolation valve. A small valve on the pipe feeding the outside tap, on the warm side of the wall - usually under the kitchen sink or in the cupboard the pipe passes through, and often labelled 'outside tap' in newer builds. Closing it cuts the supply to the outside tap without affecting anything else. If yours is a stiff screwdriver-slot type, be gentle: forcing a seized one can leave it weeping, and the plumbers' preferred replacement is a quarter-turn lever valve with nothing to jam.
- The double check valve. UK water regulations require backflow protection on taps that feed a hose, so newer outside taps often have a double check valve built into the body. It stops garden water siphoning back into the drinking supply - and, as plumbers on the Screwfix forum point out, it also means water cannot drain back out of the tap. Even isolated and opened, a compliant tap keeps a slug of water trapped inside, which is exactly why it still wants an insulated cover.
- The frost-proof outside tap. A different approach again: the body is long enough that the actual shut-off point sits at the indoor end, inside the warmth of the wall, and the exposed spout is designed to empty itself each time the tap is turned off. The catch is that it can only drain with nothing screwed onto it. Leave a hose connected and the water has nowhere to go, which defeats the whole design.
Here is the routine we recommend, in order:
- Unscrew the hose. Every household, every tap type, no exceptions.
- Close the internal isolation valve if you have one.
- Open the outside tap and let the exposed pipework drain. Watch it briefly: the flow should die away to nothing. A trickle that keeps coming means the isolation valve is letting by - common with worn or cheap valves - so shut the tap and put a valve swap on the jobs list.
- If the isolator holds, leave the outside tap open for the winter. Any residual water that freezes then has an escape route and room to expand instead of building pressure inside a sealed fitting. Housing providers often tell tenants to close the tap again once drained, and with a sound isolator that works too - open versus shut only really matters when the isolator weeps.
- Fit an insulated tap cover either way. The polystyrene drawstring type goes on in moments, and some water companies send them out free if you ask.
No isolation valve at all? You are in the same position as most of that r/AskUK thread, and a decent insulated cover on its own sees a typical lowland home through a typical winter. The odds change when they are stacked against you: a long run of exposed pipe, a north-facing wall or a sustained hard freeze all shorten them, and one commenter with exactly that setup has had the same tap burst twice. The Screwfix rule of thumb is blunt: after a few days at minus ten or below, even a well-protected outside fitting can eventually freeze. If that sounds like your winters, having an isolation valve fitted is a small plumbing job that removes the gamble. Pipe material shifts the odds too - blue MDPE plastic pipe has a little give if its contents freeze, while copper has almost none, which is why copper runs burst more readily.
Choose the Storage Spot and Plan the Spring Restart
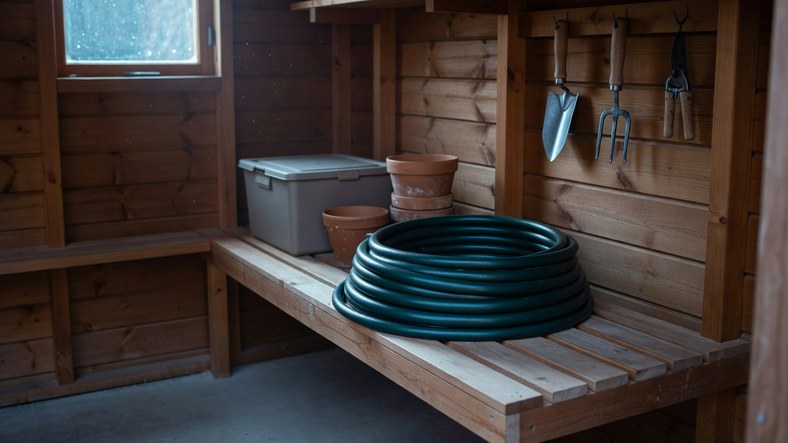
A drained, coiled hose is not fussy, but the right spot still adds years to it. The requirements are simple: dry, out of direct sunlight, and ideally somewhere that stays above freezing. Sunlight is the quiet killer - UV is behind most of the cracking you see on the outside of old hoses - so even in winter, do not leave a coil sitting on a sunny fence or windowsill.
- Unheated shed or garage: fine for a conventional hose, and where most people should put it. A fully drained hose has very little left in it to freeze, so the shelter is doing the real work: keeping off rain, sun and wind. In a garage, pick a wall away from the door, where the temperature swings least.
- Uninsulated metal shed: worse than it looks. A single skin of steel barely buffers the outside temperature, so on a clear frosty night the air inside can be nearly as cold as the garden, and the walls run with condensation in damp spells. It still beats leaving kit outdoors, but treat it as outdoor-cold: drain everything thoroughly and keep the coil off the metal floor.
- No shed or garage: a lidded garden storage box does the same sheltering job. The Keter Store It Out Nova we have reviewed swallows a coiled hose, the bag of fittings and a sprinkler in one go. It is weatherproof rather than heated, so the drain-everything rule still applies inside it.
- Indoors: a utility room, porch or under-stairs cupboard is the gold standard for anything delicate - expandable hoses, timers and pressure sprayers especially.
Not sure whether your shed or garage actually dips below freezing? Measure it instead of guessing. A max-min unit like the ETI Max Min Thermometer we have reviewed records the highest and lowest air temperature since it was last reset, so leaving it in the shed through a run of cold nights tells you whether the air in there really falls below 0°C. That one piece of information settles where the expandable hose and the sprayer should spend the winter.
Wherever the hose ends up, keep the coil off bare concrete: cold, damp floors and the road salt that comes in on car tyres both age the outer wall. A wide wall hanger, a reel, a shelf or a couple of wooden slats under the coil all solve it, and if mice visit your shed, a lidded bin with a few air holes keeps them out of the coil.
Finally, leave a note in the spring diary. Before the first watering of the year:
- Uncoil the hose fully and sight along it for cracks, flat spots and kinks before connecting anything.
- Check the washers in every connector and in the spray gun, and replace any that look flattened or brittle.
- Refit the fittings, open the internal isolation valve, take the tap cover off and turn the tap on gently.
- Watch the tap, the connectors and the gun for drips on the first run - a leak caught at the tap is a simple washer swap rather than a soggy flower bed.
Frequently Asked Questions
Can I leave a garden hose outside over winter in the UK?
You can if you genuinely use it through winter, but it needs care: drain it after every single use, slide foam pipe insulation over its length and tape the ends, and hang it off the ground on a rounded hanger. For a hose that will not be used until spring, sheltered storage is the better answer - a drained hose in an unheated shed will outlast an insulated one left on the patio.
Should the outside tap be left open or closed once it is isolated and drained?
Both camps exist among plumbers. Open means any residual water that freezes has room to expand; closed avoids a winter-long dribble if the isolation valve lets by. Our recommendation: drain with the tap open and watch that the flow dies away completely, then leave it open if the isolator holds. If it keeps trickling, close the tap and have the isolation valve replaced.
I have a frost-proof outside tap - do I still need to do anything?
Yes: take the hose off. A frost-proof tap shuts the water off at the indoor end of its body and drains its exposed spout, but it can only drain with nothing screwed onto it. With the hose disconnected you can skip the isolate-and-drain routine, though an insulated cover on top is still cheap insurance in a prolonged hard freeze.
When should I put my garden hose away for winter in the UK?
Before the first frosts: late October to November across most of England, earlier in Scotland and upland areas. September is not too early - warm tubing drains and coils far more easily than cold tubing, and reconnecting for a dry spell takes moments. The tap end of the job matters most, so do that part first if time is short.
Related Reading
- How to Protect Plants from Frost in the UK
- How to Winterise an Above Ground Pool in the UK
- How to Keep Pots Watered While on Holiday in the UK
- How to Repair Bare Lawn Patches in Autumn (UK Guide)
Disclaimer: This article contains Amazon affiliate links. We may earn a small commission from qualifying purchases at no extra cost to you.