
How to Clean Garden Tools Before Winter (UK Guide)
Published 26 August 2026
A full pre-winter service for UK garden tools: scrub off soil and sap, disinfect and sharpen blades, oil metal and wooden handles, sort batteries and petrol, and store everything dry until spring.
We earn commission from qualifying Amazon purchases. It costs you nothing and does not affect what we recommend.
Quick Answer
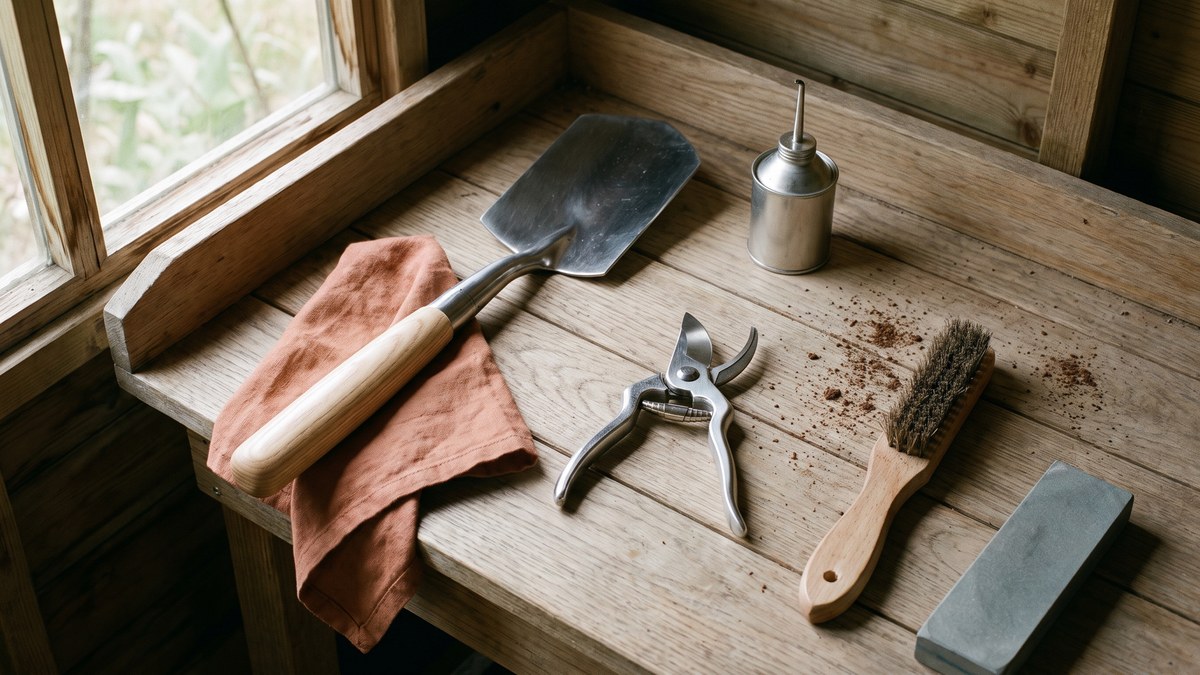
Scrub all soil and sap off your tools, disinfect any blades that have touched diseased plants, sharpen cutting edges, then wipe metal with a light oil and treat wooden handles with linseed oil. Bring lithium-ion batteries indoors, drain or stabilise petrol, and store everything dry, ventilated and off the floor. Start now, work in stages, and aim to finish by late October in northern gardens or during a dry November spell further south.
By late summer your garden tools have done months of hard work, and most of them show it: caked soil on the spade, dried sap gumming up the secateurs, the first freckles of rust on anything left out overnight. A damp British winter turns those small problems into seized pivots, pitted blades and split handles. A proper clean before the tools go away prevents all of it.
This is a staged job, not a single grim afternoon. Keep on top of basic cleaning while you are still using the tools through early autumn, then give everything a deep clean, disinfect, sharpen and oil as the main growing season winds down, finishing before the first hard frost. This guide walks through the full routine for UK gardeners, including the jobs most articles skip: how to sharpen properly, which disinfectants actually work, and what to do with cordless and petrol kit.
Scrub Off Soil, Sap and Surface Rust
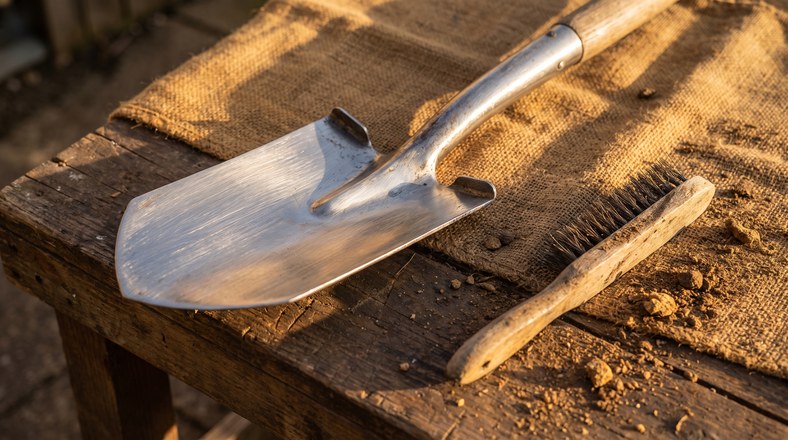
Dried-on soil is not just untidy. It acts like a sponge, holding moisture against the steel through every damp autumn night, which is how rust starts. Sap does something similar on pruning blades: it hardens into a sticky dark coating that attracts grime, makes blades drag and stick together, and can carry disease from plant to plant.
Digging tools: spades, forks, hoes and trowels
Knock the worst of the dried soil off against a brick or paving slab, then work over the metal with a stiff brush - a wire brush shifts baked-on clay that a softer brush just skates over. Pay attention to the shoulder where the blade meets the socket, because soil trapped in that joint holds damp against the handle fixing. Most digging tools need no water at all; if mud is really baked on, wash them down with warm water and a scrubbing brush, then dry everything thoroughly with an old towel. Damp is the enemy: wet metal rusts, and wet wooden handles swell and split. Keeping a brush and an old towel next to the tool rack makes the habit stick.
Cutting tools: secateurs, loppers and shears
Clean dried sap off blades with wire wool or a nylon pan scourer. A penetrating, water-displacing spray such as WD-40 helps loosen stubborn residue, and methylated spirits on a cloth also shifts hardened sap. Once the metal is clear and smooth, wipe off any remaining spray with a clean cloth, and always wipe blades away from your body.
Dealing with rust
Light surface rust comes off with wire wool or a wire brush. For heavier rust, skip the elbow grease and use a vinegar bath: submerge the rusted parts in white vinegar for 12 to 24 hours, then wipe the loosened rust away with a heavy-duty scouring pad, rinse in clean water and dry completely. A spade or shears too big for a container can be wrapped in a vinegar-soaked towel inside a plastic bag for a day instead. Whichever method you use, oil the bare metal soon after drying: freshly stripped steel rusts again quickly. Wire wool, vinegar and oily rags are all hard on skin, so wear proper gloves for this stage - a thorn-proof pair like the SAWANS gardening gloves does double duty here and for the winter pruning still to come.
Disinfect Blades That Have Touched Diseased Plants
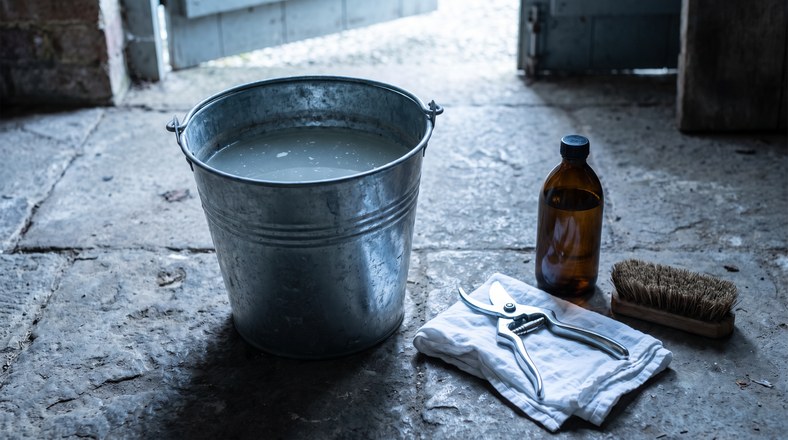
Autumn clear-ups are exactly when tools pick up trouble. Cutting out canker, lifting a blighted plant or pruning something you are not sure about leaves pathogens on the blade, and diseases such as Phytophthora, bacterial canker and box blight spread on dirty tools, boots and pots. Cleaning removes the dirt you can see; disinfecting deals with what you cannot.
Here is what actually works, and what does not:
- Garden disinfectants such as Jeyes Fluid or Citrox are the standard choice, and the one the RHS points to. Apply to the blade and leave for 15 to 20 minutes before wiping off and drying - the contact time is what kills pathogens, not the wipe.
- Rubbing alcohol (isopropyl) is effective and evaporates cleanly, though it is flammable, so keep it away from anything with a motor or a naked flame.
- Boiling water works if tools are fully submerged for at least 15 minutes - practical for trowels and hand tools, less so for loppers.
- Household bleach, well diluted, does kill pathogens, but it corrodes steel, ruins clothing, and the mixed solution loses its strength within about half an hour. A last resort, not a routine.
Advice is split on hydrogen peroxide and vinegar: some guides list them as disinfectants, but the more research-led write-ups found they do not reliably kill plant pathogens. Vinegar is excellent at dissolving rust and poor at disinfecting, so use it for the job it is good at. The same goes for antibacterial hand soaps and ammonia-based cleaners: cleaning products, not disinfectants.
The routine itself is simple. Brush loose soil and debris off at the bed where you were working, so contaminated material stays put. Wash the tool in hot soapy water and dry it. Apply your disinfectant, give it the full contact time, then wipe, dry again and follow with oil. A pump-action pressure sprayer such as the Spear & Jackson model we reviewed makes it easy to wet every surface evenly, including lopper pivots, fork tines and the soles of your wellies, which spread soil-borne disease just as readily. Finally, disinfect the brush and cloth you used, or the whole job unravels.
Sharpen Secateurs, Loppers and Spades
Sharpening is the step most guides wave through in a sentence, yet it makes the biggest difference next spring. A blunt secateur blade crushes stems instead of slicing them, tearing plant tissue and leaving a ragged wound that lets disease in. A blunt spade needs far more force to cut into soil. Both take about ten minutes per tool to put right while everything is already clean.
Secateurs and loppers
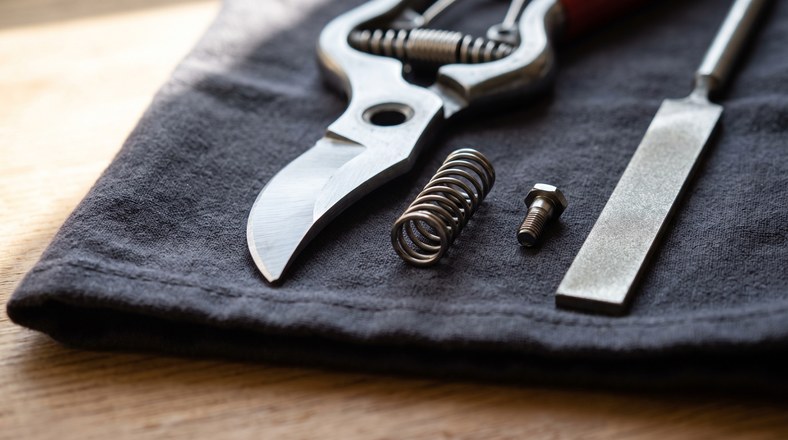
If your pair can be dismantled, take it apart on a cloth so no small part pings away, and clean each piece first: you cannot judge an edge under a layer of grime. Then:
- Colour the bevelled edge with a marker pen. As you sharpen, the ink disappears where the stone has worked, showing up any missed patches.
- Sharpen only the bevelled side, following the factory angle already on the blade. Hold a diamond stone or fine file flat against the bevel and push it away from you along the blade in single strokes, right to the tip, with even pressure.
- Keep going until a line of fresh, shiny metal runs the whole cutting edge, then finish with the fine side of the stone; two or three sweeps is enough.
- Feel the flat face for a burr, the thin lip of metal that sharpening pushes up. Remove it by laying the stone completely flat against that face and drawing it across. Never grind a bevel into the flat side, as that ruins how the blades bite together.
- Reassemble, put a drop of oil on the pivot and spring, and check the edge on a sheet of paper: a sharp blade slices cleanly, a blunt one folds and crushes.
Bypass pairs like the Kynup secateurs we reviewed respond well to this routine. Anvil designs, such as the Spear & Jackson loppers UK buyers rate for thick branches, repay it even more: the single cutting blade closes onto a flat plate, so any dullness shows up immediately as crushed stems.
On angles, follow the bevel the blade came with rather than inventing a new one. If you want a target, one detailed UK guide works secateurs and shears to roughly 23 degrees and spade edges to about 35 degrees, but holding a consistent angle matters more than the exact number.
Spades, hoes and shears
Clamp the tool in a vice, front face up, and work along the edge with a metal file in long strokes pushed away from you, keeping the file at the blade's existing angle. Turn the tool over and strip off the burr with the file laid flat. Once or twice a year is plenty for digging tools. Shears that cannot be taken apart, and any blade that is badly nicked or damaged, are best handed to a professional sharpener.
Oil the Metal and Treat Wooden Handles
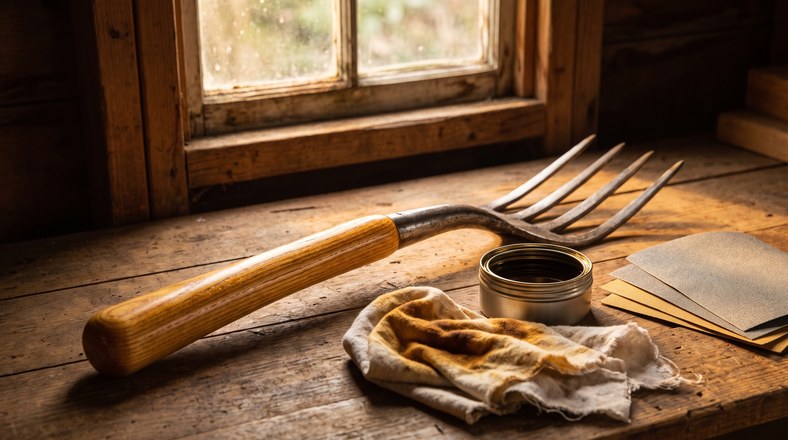
Oil is the barrier that keeps winter damp off your newly cleaned steel, but order matters: the metal must be completely dry first, or you trap moisture under the film and the tool rusts from the inside out. Give washed tools time somewhere warm and airy before this stage.
Metal parts
A light machine oil such as 3-in-1, camellia oil or a general-purpose tool oil all do the job. Put a few drops on a rag and wipe a thin film over every metal surface: both faces of secateur and shear blades, spade and hoe edges, fork tines, rake teeth. Drop a little oil into the central pivot and spring of secateurs and loppers, then open and close them a few times to work it through. Ratchet models, like the GRÜNTEK secateurs that buyers with weaker grip often choose, have more moving metal than a simple bypass pair, so work oil through the whole mechanism until the action feels smooth. You are after a thin sheen, not a greasy coating that attracts dust.
One caveat on WD-40: it displaces water and loosens sap brilliantly, but it evaporates within a few weeks. Use it as the prep, then follow with a proper oil.
Two things not to oil: rubber or plastic grips, which turn slippery, and anything electrical, including battery contacts, connectors and vents. Modern stainless steel resists rust better than older carbon steel, but an occasional light coat still helps.
Wooden handles
Cold, damp air is hard on ash and beech handles: left bare, they absorb moisture, swell and eventually split. Sand any rough patches lightly with fine sandpaper, wipe off the dust, then rub linseed oil in along the grain with a cotton rag. Let it soak in overnight and wipe away the excess. Guides differ on which linseed oil to use: boiled dries in about a day, while raw soaks deeper into the timber but cures slowly over weeks. Either is far better than bare wood.
One genuine safety point: rags soaked in linseed oil can self-heat and catch fire as the oil cures. Dry them flat outdoors on concrete or drop them in a metal bucket of water, and never leave them balled up in a bin. While the oil dries, tighten loose screws and handle fixings, replace tired secateur springs, and retire anything with a cracked handle.
Winterise Cordless and Petrol Tools
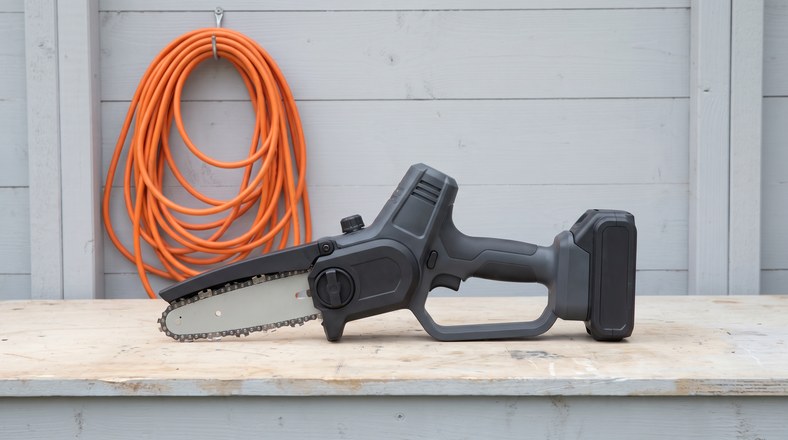
This is where most tool-cleaning articles stop, and it is where the avoidable damage happens. Powered kit fails over winter in different ways from hand tools: batteries dislike cold, petrol goes stale, and damp grass packed into a mower deck quietly corrodes it for months.
Cordless tools and batteries
With the battery removed before you touch anything, brush dried grass, sawdust and debris out of guards, vents and around blades. Do not oil vents, housings or battery slots; if a blade genuinely needs lubricating, as hedge trimmer blades often do, the manual will say so.
The batteries themselves should never winter in the shed. Freezing temperatures damage lithium-ion cells, so bring every battery indoors to somewhere dry and stable. The common manufacturer guidance is a cool room at roughly 10 to 15°C with the battery part-charged, around 40 to 60 per cent rather than flat or full, and never put a battery straight on charge while it is still cold from a freezing shed. Check your own manual, because makers differ on the detail. If you use a cordless pruning saw such as the Seesii mini chainsaw we reviewed for branch work, give it the same treatment: brush it clean, store the tool dry, and keep its battery indoors with the rest.
Petrol tools
Standard E10 petrol contains 10 per cent ethanol, which attracts moisture and can degrade into a gummy residue in around 30 days, the classic cause of a mower that refuses to start in spring. Before storage, either run the engine dry, drain the tank, or add a fuel stabiliser, whichever the manufacturer recommends. Take old fuel to your council's hazardous waste service, and never pour it down a drain.
Corded tools and mowers
Unplug corded tools, wipe them down and inspect the full length of the cable for cuts or crushed sections, then coil it loosely for storage. Anything with damaged insulation or a cracked plug stays out of service until it is repaired. On mowers, brush dried grass off the deck, wheels and height adjusters, keeping well clear of the blade, and follow the manual before tipping a petrol machine to clean underneath.
Store Everything Clean, Dry and Off the Floor
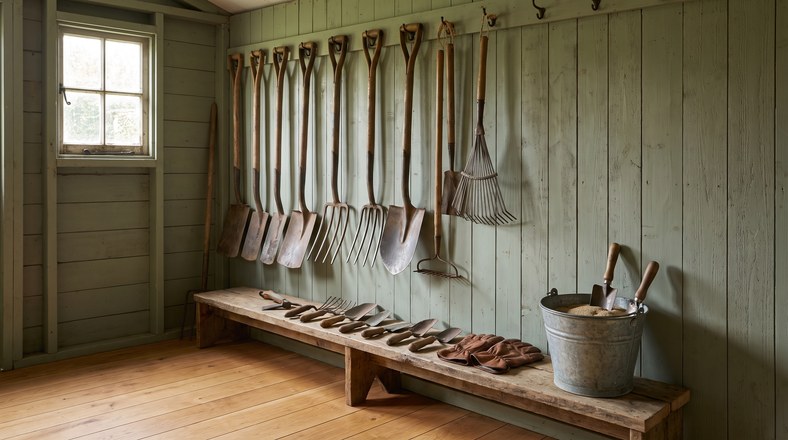
Good storage is what makes the rest of the work last. The goal is simple: dry air that moves, and nothing sitting on a cold floor.
A shed works if it does not leak; a garage is usually drier and more stable; a utility room suits batteries and chargers but not muddy spades. Wherever your tools live, ventilation matters more than warmth. Stagnant, humid air condenses on cold steel, rusting tools in a supposedly dry shed, and persistent damp moulds wooden handles. If the space feels damp, open the vents on milder days and add a moisture absorber to enclosed tool boxes.
- Get everything off the floor. Concrete draws moisture up into whatever rests on it. Hang long-handled tools from hooks, a rack or a pegboard, and keep hand tools on a shelf or in a drawer.
- Do not heap or nest tools. Piled tools scrape off each other's oil, knock freshly sharpened edges and leave handles sitting in whatever water crosses the floor.
- Cover sharp edges. A blade guard protects both you and the edge you just honed. If the original cover is long gone, a slit offcut of hosepipe tied in place works well; avoid sticking tape to an oiled blade.
- Keep tools away from fertiliser and chemicals. The salts in lawn feeds react with damp air and speed up rust on nearby metal.
- Try the sand bucket trick. A bucket of sharp sand with a little oil mixed through makes a self-maintaining home for trowels and hand forks: dip them in tip-first and the sand scours and oils them in one go.
If the shed is already full, or you garden without one, a sealed outdoor store keeps rain and condensation off your kit. The Keter Store It Out Nova we reviewed gives hand tools, gloves and consumables a dry, lockable home at grab-and-go height. Finally, do not bury everything: keep secateurs, a stiff broom and grit tools reachable for winter jobs, so the one thing you need in January is not behind the mower.
Frequently Asked Questions
When should I clean garden tools before winter in the UK?
Work in stages from late summer: keep tools clean as you use them, then do the full deep clean, sharpen and oil once the main season winds down. In Scotland and northern England aim to finish by late October, before the first hard frosts; across most of the UK a dry spell in November is the classic window, and mild south-western gardens can run to mid November. Pick two consecutive dry days, because tools must be fully dry before they are put away.
What should I use to disinfect garden tools?
A garden disinfectant such as Jeyes Fluid or Citrox, left on the blade for 15 to 20 minutes, is the reliable choice. Rubbing alcohol also works, as does submerging small tools in boiling water for at least 15 minutes. Skip vinegar, hydrogen peroxide and antibacterial soaps for disinfecting; the evidence behind them is weak, though vinegar remains a fine rust remover.
Is WD-40 enough to protect garden tools over winter?
Not on its own. WD-40 is a water-displacing, penetrating spray: excellent for loosening dried sap and driving moisture out of joints, but it evaporates within a few weeks. After using it, wipe blades and other metal parts with a light machine oil or camellia oil to leave a film that lasts the whole winter.
How do I get rust off garden tools without heavy scrubbing?
Soak the rusted parts in white vinegar for 12 to 24 hours, then wipe the loosened rust away with a scouring pad, rinse, dry thoroughly and oil straight away. Tools too big to submerge can be wrapped in a vinegar-soaked towel inside a plastic bag for a day. Badly rusted tools may need a second soak.
Related Reading
- How to Store a Garden Hose Over Winter in the UK
- How to Protect Plants from Frost in the UK
- How to Repair Bare Lawn Patches in Autumn (UK Guide)
Disclaimer: This article contains Amazon affiliate links. We may earn a small commission from qualifying purchases at no extra cost to you.